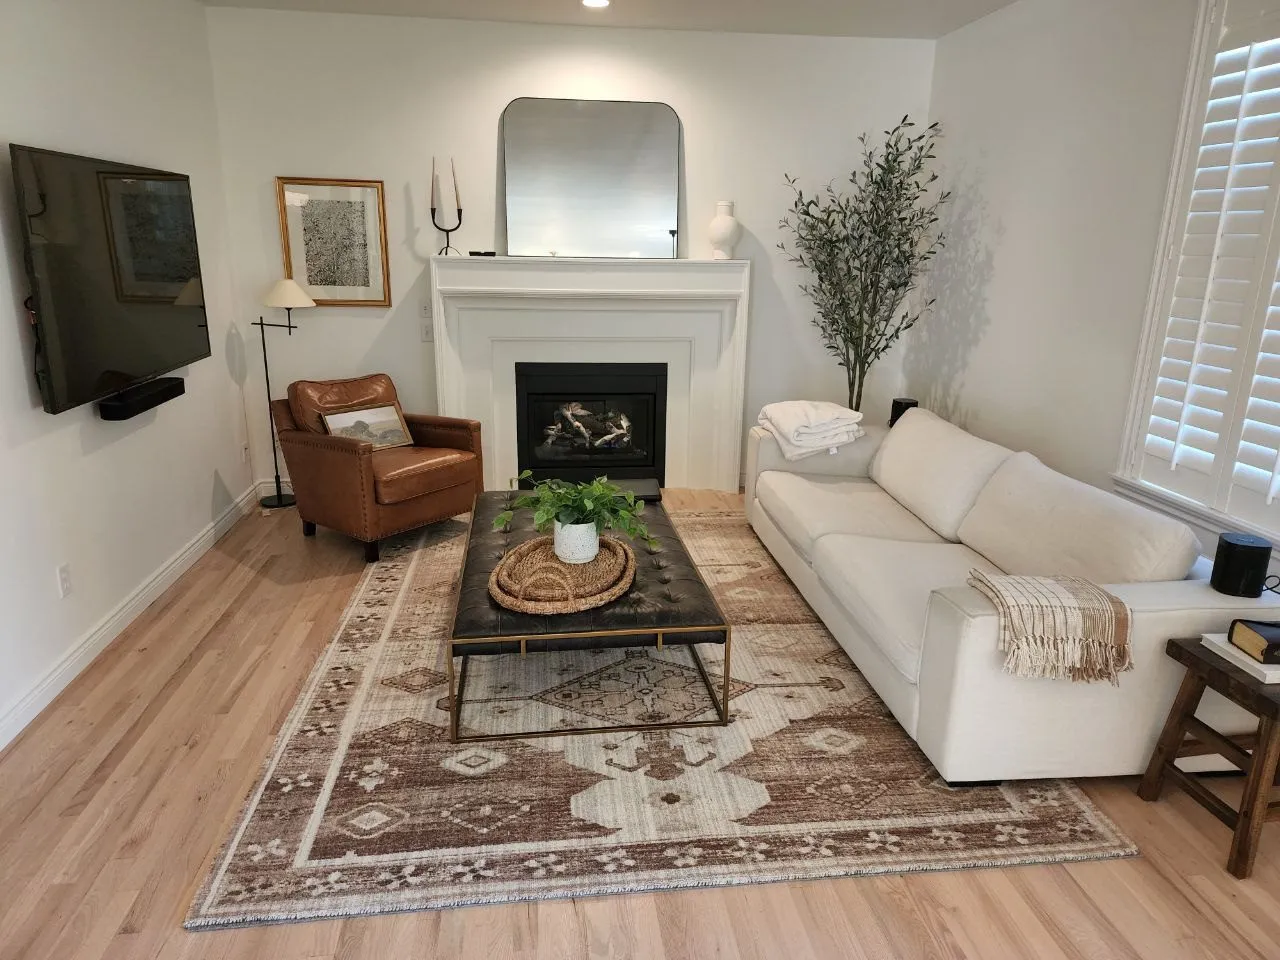
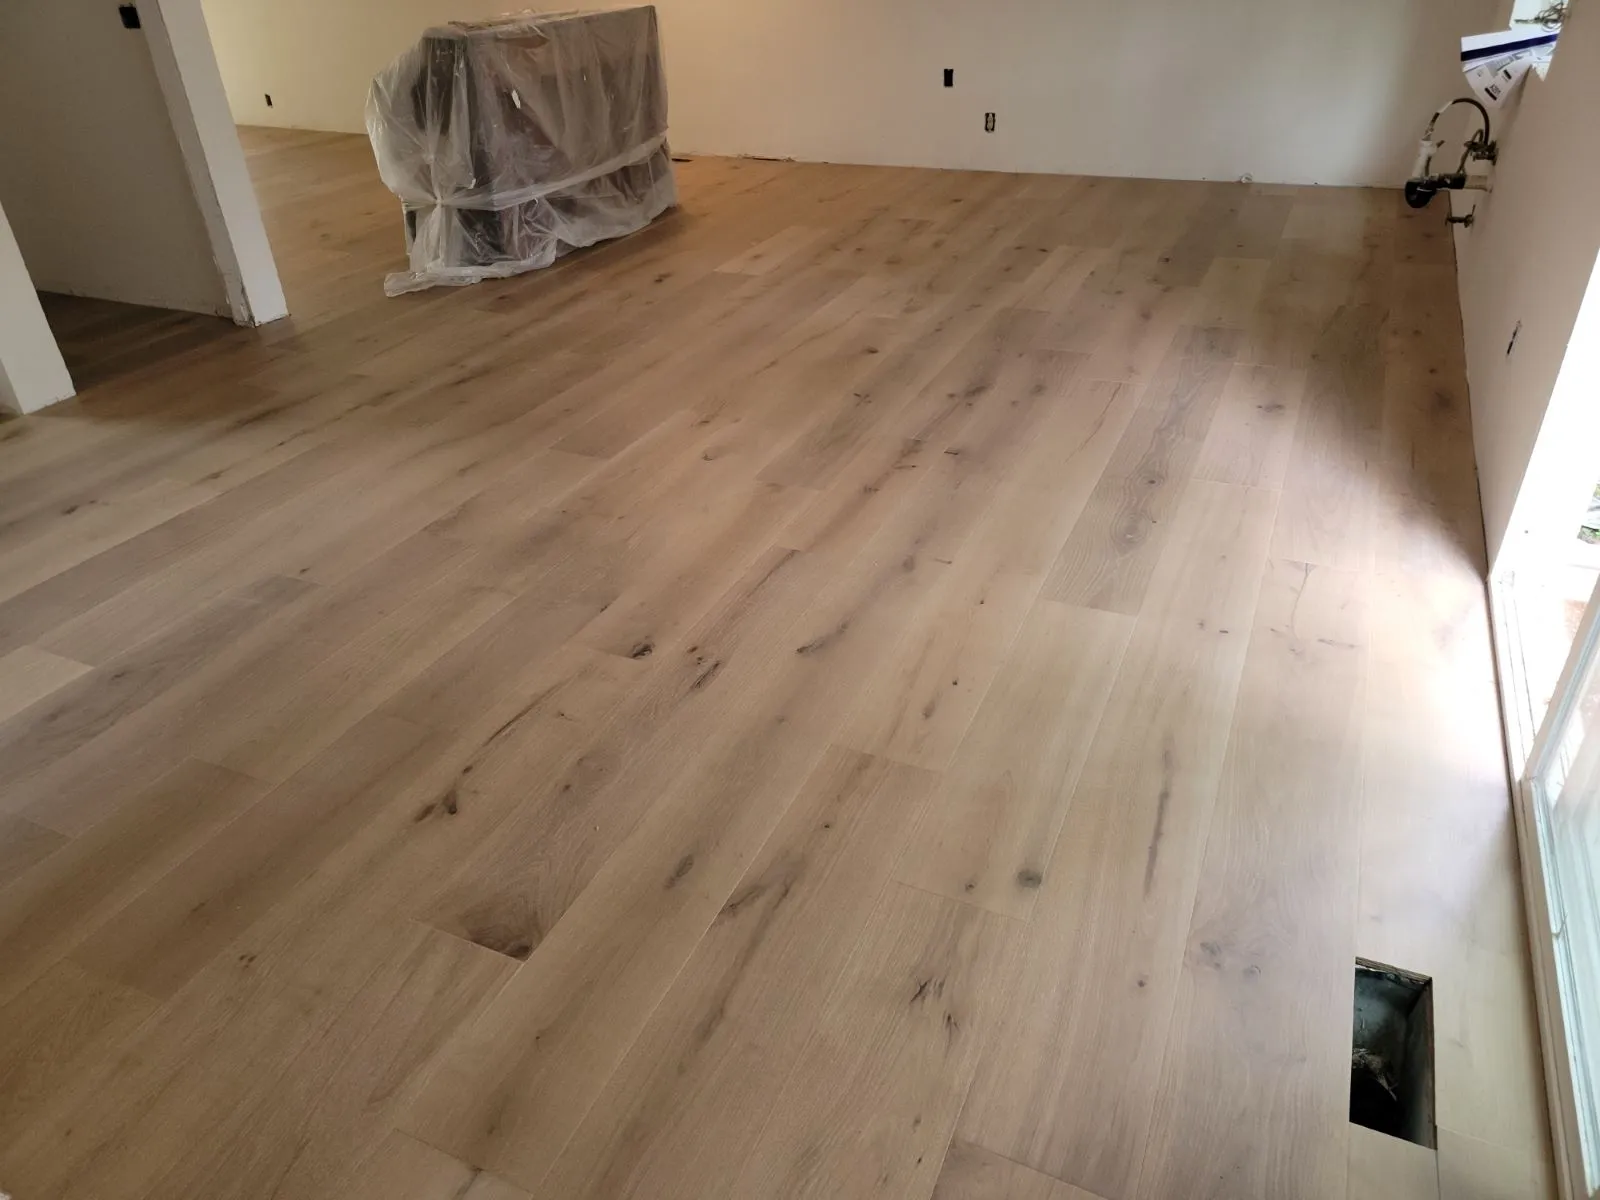
The short answer
- A professional install follows 10 steps: choose, measure, acclimate, test moisture, prep, lay out, install, finish (if unfinished), trim, and walkthrough.
- Hardwood sits in your home for 3–5 days before installation so it can adjust to your indoor conditions.
- Installation labor starts at about $3 per sq ft for prefinished nail-down floors, plus material.
- Prefinished floors are ready right away. Unfinished floors add sanding, stain and three coats of finish on site.
New hardwood is one of the best investments you can make in a home, but only if it's installed right. Most hardwood problems, like gaps, cupping, squeaks and boards lifting, trace back to a step that was rushed or skipped.
We're Vision Flooring in Everett, WA, with more than 20 years in construction. This guide walks through exactly what happens on a professional hardwood installation, and what you'll decide at each step.
How is hardwood flooring installed, step by step?
- Choose your hardwood: solid or engineered, prefinished or unfinished, species, width and grade.
- Measure and order, with a little extra for cuts.
- Deliver and acclimate the wood inside your home for 3–5 days.
- Test moisture in the subfloor and the hardwood.
- Remove the old floor and prep the subfloor so it's flat, dry, clean and solid.
- Plan the layout: board direction, starting line, transitions and expansion gaps.
- Install with the right method for your subfloor.
- Sand, stain and finish, for unfinished hardwood only.
- Trim and transitions: baseboards, quarter round, T-molds and stair nosings.
- Walkthrough and care instructions.
Step 1: Should I choose solid or engineered hardwood?
Solid hardwood is one piece of wood and can be sanded many times. Engineered hardwood has a real-wood top layer over a stable plywood-style core, which handles moisture and concrete better. Both are real hardwood once they're installed.
- Choose solid for upper floors over plywood when you want the most refinishing life.
- Choose engineered over concrete, in basements, over radiant heat, or for very wide planks.
Prefinished or unfinished?
Prefinished hardwood comes with a factory finish. There's no sanding or finishing on site, and you can use the floor right away. Unfinished hardwood is installed raw, then sanded, stained and finished in place. That gives you a perfectly flat, seamless surface, any custom color, and the easiest way to match existing floors.
Species, width and grade
Oak (red or white) is the most popular species in our area for its durability and grain. Hickory is harder, while walnut and cherry are softer and dent more easily. Wider planks look more modern but move more with humidity, so planks 5″ and wider usually get glue-assist installation. Clear and select grades look calm and uniform, while character grades show more knots and color variation.

Step 2: How much extra hardwood should I order?
Straight layouts typically need about 5–10% extra for cuts and waste. Diagonal and herringbone layouts need more. We measure every room and list the exact quantity on your estimate. Keep a box or two after the job for future repairs, because flooring lines get discontinued.
If you're adding to an existing hardwood floor, we can sometimes weave new boards into the old ones. Even with the same species and brand, a perfect match can't be guaranteed, because wood varies from one production run to the next and changes color with age. Refinishing the old and new floor together gives the best blend.
Step 3: How long does hardwood need to acclimate?
We have hardwood delivered to your home 3–5 days before installation. Some products need longer, and the manufacturer's instructions always come first. Acclimation lets the wood adjust to your home's temperature and humidity, so it doesn't shrink or swell after it's installed.
- The boxes go inside the living space, never the garage.
- Keep the heat or air conditioning running at normal settings.
- Wet work like drywall mud and paint should be finished and dry first.
When we supply the materials, a delivery or transportation fee of about $150–$250 per trip may apply. We'll tell you before ordering, and there's no fee when the supplier delivers for free.
Step 4: Why test moisture before installing hardwood?
Because wood that's too wet or too dry for its subfloor will move after it's installed. We measure both the plywood subfloor and the hardwood. Our standard is that the two stay within 5 percentage points of each other, for example 8% and 13%. If the manufacturer requires a closer match, we follow theirs. If readings are off, we wait and re-test before installing.
Step 5: What happens to my old floor and subfloor?
Carpet and other soft flooring always comes out. Then the subfloor is checked and prepped. Removal is priced by material: about $0.75–$1 per sq ft for carpet, $2 for click laminate or LVP, $3 for hardwood, $4 for sheet vinyl with particle board, and $8–$15 for tile.
Next, the subfloor has to be flat (about ¼″ in 10 ft for nail-down hardwood), solid and dry. Light sanding of plywood seams is included. Bigger leveling or repairs are listed separately. Read the full checklist in how to prep a subfloor like a pro.
Step 6: How do installers plan the layout?
The layout decides how the finished floor looks, so it's planned before the first board goes down.
- Direction: usually across the floor joists, and along the longest view of the room. See parallel vs. perpendicular to joists.
- A straight starting line, snapped so the rows stay square through every room.
- Expansion space at every wall, hidden later by the baseboards.
- Door casings undercut so the floor slides neatly underneath.
- Transitions planned where hardwood meets tile, carpet or another floor.
Step 7: Which installation method will be used?
It depends on your subfloor and your flooring. Over plywood, most hardwood is nailed or stapled down over vapor-retarder paper, and wide planks get glue-assist. Over concrete, engineered hardwood is glued down or floated. Boards are laid with their end joints staggered, so no seams line up next to each other.
Compare all five methods, with pros, cons and prices, in nail-down vs. glue-down vs. floating.

Step 8: How is unfinished hardwood sanded and finished?
The floor is sanded flat in several passes, stained if you want color, then coated with three coats of finish. You choose water-based or oil-based finish, in matte, satin or semi-gloss. We bring stain samples, so you can see the color before we commit.
- Nobody walks on the floor while stain and finish are going on, so plan to be out.
- You can usually come back the next day.
- Wait three full days before moving furniture back.
- Area rugs go down after one week with water-based finish, or three weeks with Swedish finish.
See every step in hardwood floor sanding and finishing, and browse floor stain colors.

Step 9: What trim and transitions are needed?
Baseboards or quarter round cover the expansion gap, and transition pieces finish the edges where hardwood meets other floors.
- Small T-molds are usually included in the installation price.
- Reducers, thresholds and special transitions are listed separately when needed.
- Carpet edges are cut, stretched and fitted to the new hardwood for about $65 per doorway.
- Baseboards and quarter round are priced separately. See baseboard installation.
- Stairs run about $100–$160 per step. See hardwood stair treads and risers.
Step 10: What happens after installation?
We walk the finished floor with you and go over care. With prefinished hardwood, furniture can go back right away. Fully glued-down floors may need 2–3 days first. Put felt pads under every furniture leg, and keep indoor humidity steady. You'll get a project and warranty package, plus our Limited One-Year Workmanship Warranty. Your flooring's manufacturer warranty is separate. Keep it healthy with our wood floor maintenance guide.
How much does hardwood flooring installation cost?
Installation labor is about $3 per sq ft for prefinished nail-down hardwood, $6 for glue-assist and $8 for glue-down. Material is separate. Unfinished hardwood costs about $3 per sq ft to install, plus $4–$6 per sq ft to sand and finish, and $0.75–$1.50 per sq ft for stain.
Example, 500 sq ft: prefinished nail-down is about $1,500 in labor, plus about $375–$500 to remove old carpet. The same area in unfinished hardwood, sanded, stained and finished on site, is about $3,875–$5,250 in labor. Furniture moving is optional, at about $200–$800 per project. Projects have an $800 minimum. Try our free flooring calculator for a quick ballpark.
More hardwood installation questions
How long does hardwood installation take?
After the 3–5 days of acclimation, a prefinished install of a few rooms usually takes a few days. Unfinished hardwood adds the sanding and finishing days, plus drying time between coats. We give you a schedule with your estimate.
Can hardwood go in a kitchen, bathroom or basement?
Kitchens, yes, with spills wiped up quickly. In full bathrooms we recommend LVP instead. Basements usually call for engineered hardwood over concrete, glued down or floating.
Can new hardwood go over my old hardwood floor?
Sometimes. It's evaluated case by case. The old floor has to be suitable for the new installation method, and extra prep or removal may be needed.
Can I install hardwood myself?
Some homeowners do, but acclimation, moisture testing, subfloor prep and expansion gaps are where DIY floors usually fail. See why a professional installer matters.
Every step, done right
The steps above aren't extras. They're how we install every hardwood floor.
20+ yearsin construction and remodeling
3–5 daysacclimation inside your home
3 coatsof finish standard on site-finished floors
1-yearLimited Workmanship Warranty on our work