CALL (425) 218-4234 – FREE ESTIMATE


What Are the Best Installation Methods for Hardwood Flooring: Glued, Nailed, Floating?
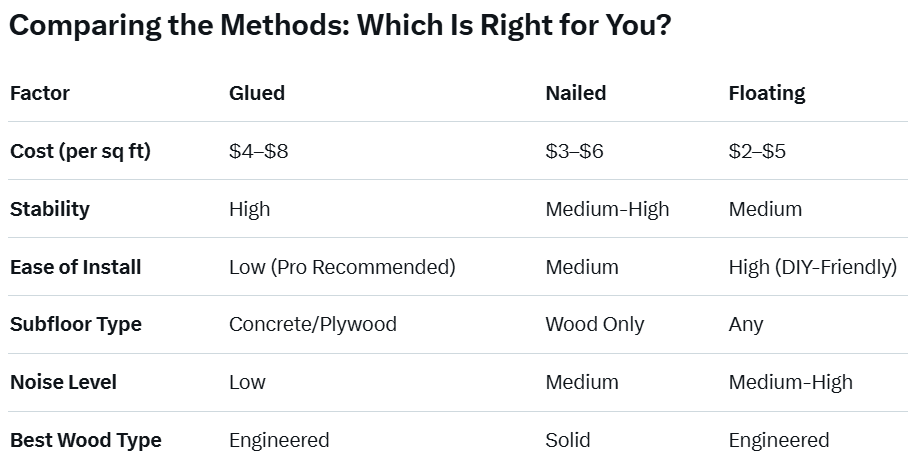
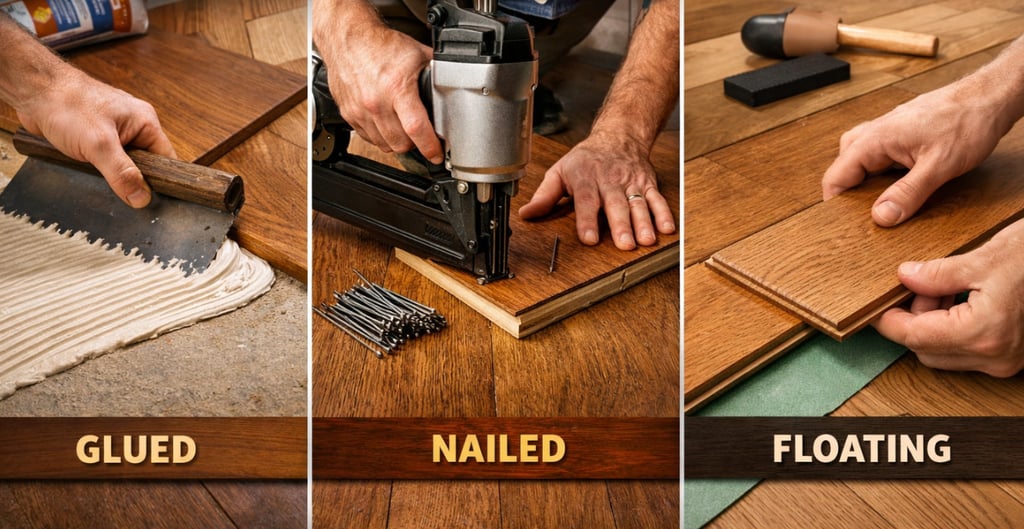
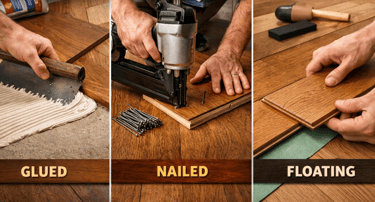
When it comes to installation, the method you choose can significantly impact the floor's performance, cost, and ease of setup. The three primary methods are glued down, nailed, and floating.
FLOORING PLANNINGBEST INSTALLATION METHODSFLOOR GUIDE
Alex Babko
4 min read
Hardwood flooring remains a timeless choice for homeowners seeking durability, elegance, and long-term value in their homes. But when it comes to installation, the method you choose can significantly impact the floor's performance, cost, and ease of setup. The three primary methods—glued, nailed, and floating—each have their strengths and ideal applications. In this guide, we'll break down the pros and cons of each, helping you decide which is best for your project based on factors like subfloor type, wood variety (solid vs. engineered), and budget.
Whether you're a DIY enthusiast or hiring a professional, understanding these options ensures a stable, beautiful result. Let's dive in.
Understanding Hardwood Flooring Types and Their Installation Compatibility
Before exploring the methods, it's essential to note that installation options vary by hardwood type:
Solid Hardwood: Typically requires nailing or gluing due to its thickness and natural expansion/contraction. Floating is rare for solid wood as it needs a more secure attachment.
Engineered Hardwood: More versatile, as its layered construction allows for all three methods—glued, nailed, or floating. This makes it popular for basements, over concrete, or radiant heating systems.
Always check manufacturer guidelines, as some products are designed for specific installations.

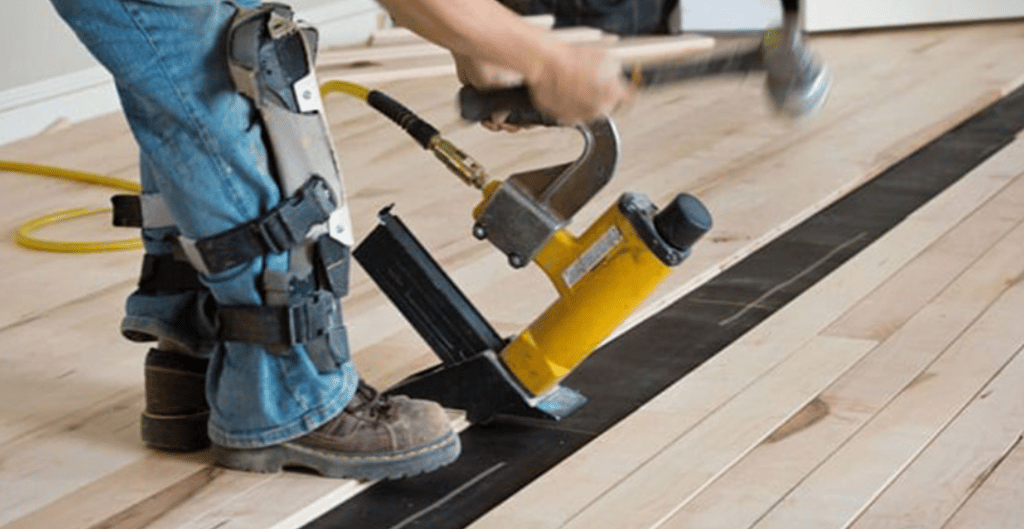
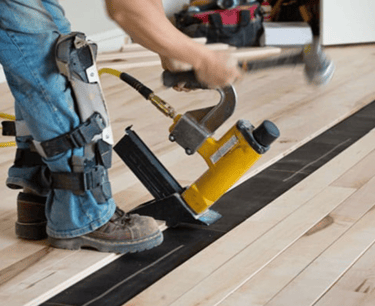
Nailed Installation: Traditional and Efficient
Nailing, or nail-down installation, uses cleat nails or staples to fasten the hardwood to a wooden subfloor (like plywood or joists). It's a classic method for solid hardwood but also works with thicker engineered products.
Pros of Nailed Installation
Quick and Cost-Effective: Faster than gluing, with installation costs around $3–$6 per square foot. Pros can complete it in a day for average rooms.
Natural Expansion Allowance: Nails provide some flexibility for wood's seasonal movement, reducing buckling risks.
Durable for Solid Wood: Secures thick planks firmly, enhancing longevity in humid climates.
Easy Repairs: Individual boards can be replaced without affecting the entire floor.
Cons of Nailed Installation
Limited to Wood Subfloors: Not suitable for concrete; requires a plywood base if none exists, adding expense.
Noise During Installation: Hammering or pneumatic tools can be disruptive.
Potential for Squeaks: If not done properly (e.g., skipping underlayment), floors may creak over time.
Height Considerations: Adds more thickness than floating, which might affect door clearances.
Best For: Wood subfloors in upstairs rooms, solid hardwood projects, or homes where a traditional feel is desired. Avoid if your subfloor is concrete or slab.
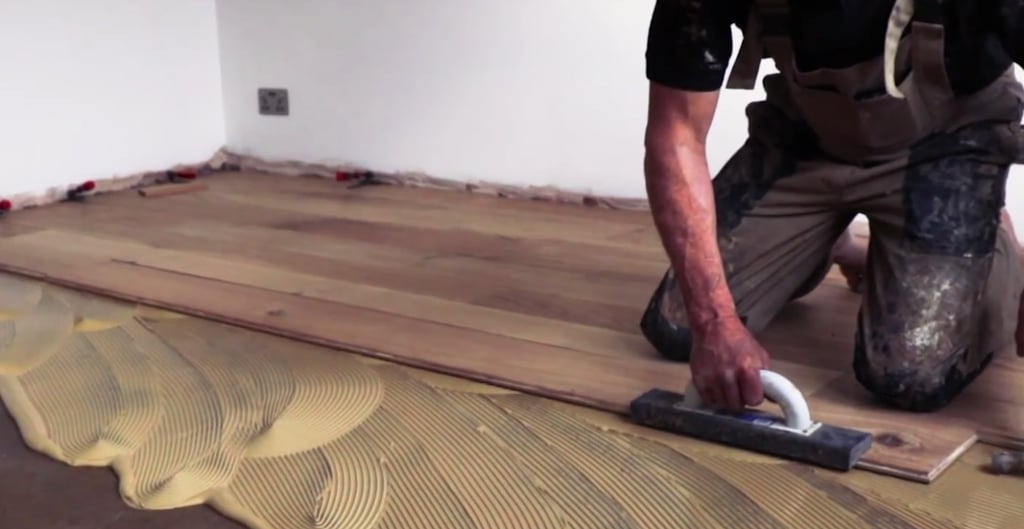
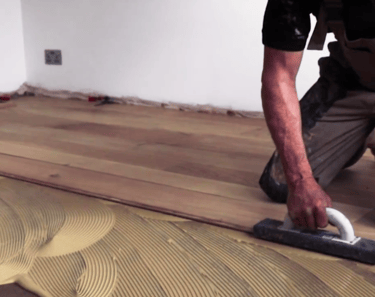
Glued Installation: The Most Stable Option
Gluing, also known as glue-down installation, involves applying adhesive directly to the subfloor and pressing the hardwood planks into place. This method is common for engineered hardwood over concrete or plywood subfloors.
Pros of Glued Installation
Superior Stability: Creates a monolithic bond, reducing movement and creaking over time. Ideal for high-traffic areas.
Quiet Underfoot: Minimizes hollow sounds compared to floating floors.
Suitable for Uneven Subfloors: Adhesive can fill minor imperfections, though major leveling is still needed.
Compatible with Radiant Heat: Often recommended for heated floors, as it allows even heat transfer.
Cons of Glued Installation
Labor-Intensive and Expensive: Requires more time, tools, and materials, with costs ranging from $4–$8 per square foot (excluding materials).
Permanent: Difficult to remove without damaging the subfloor or wood, making it less ideal for renters or future changes.
Messy Process: Adhesive cleanup can be challenging, and proper ventilation is needed to avoid fumes.
Drying Time: Floors may need 24–48 hours to cure before walking on them.
Best For: Concrete subfloors, wide planks (over 5 inches), or areas where silence and longevity are priorities, like living rooms or kitchens.
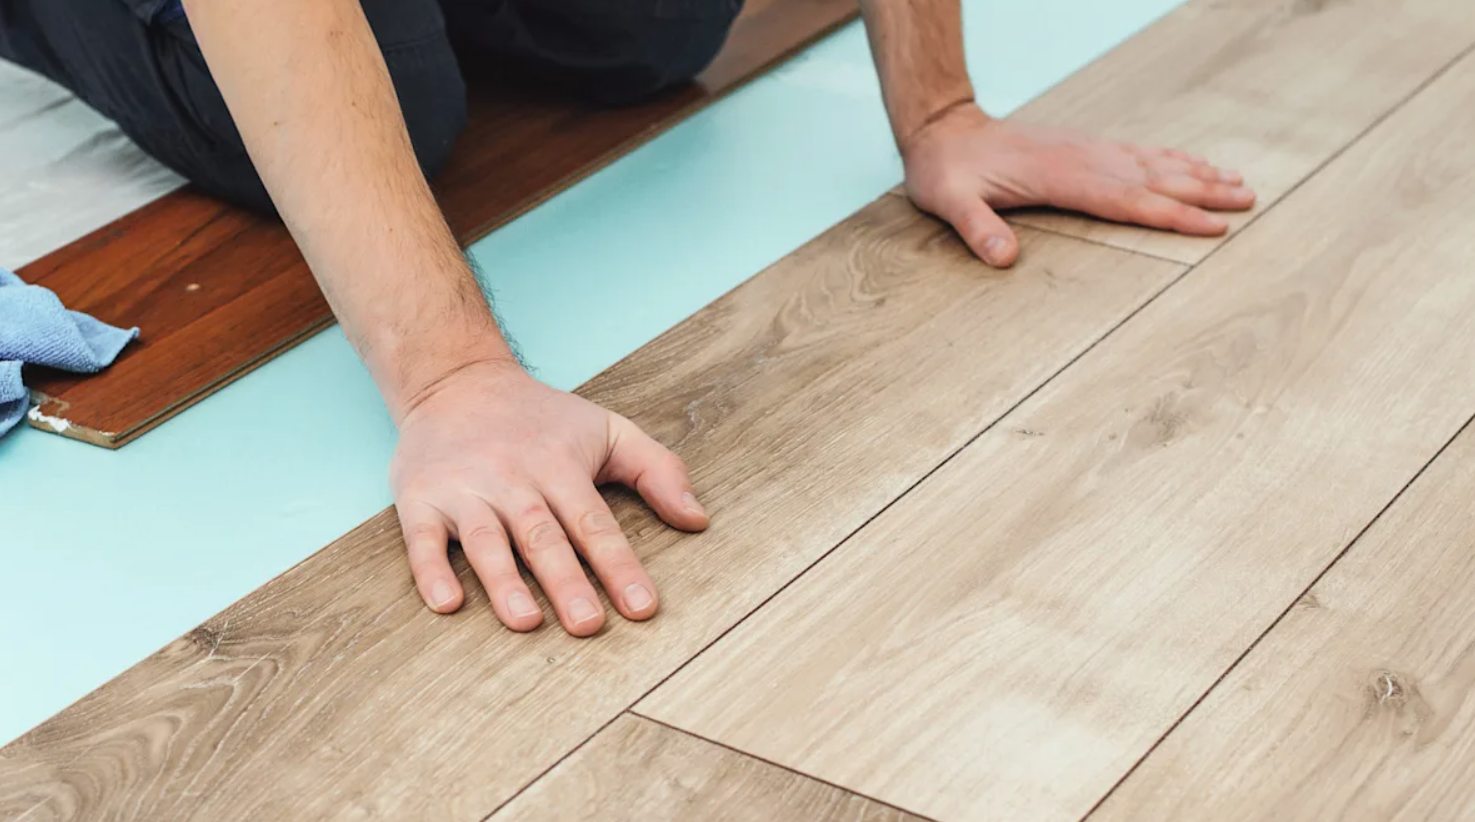
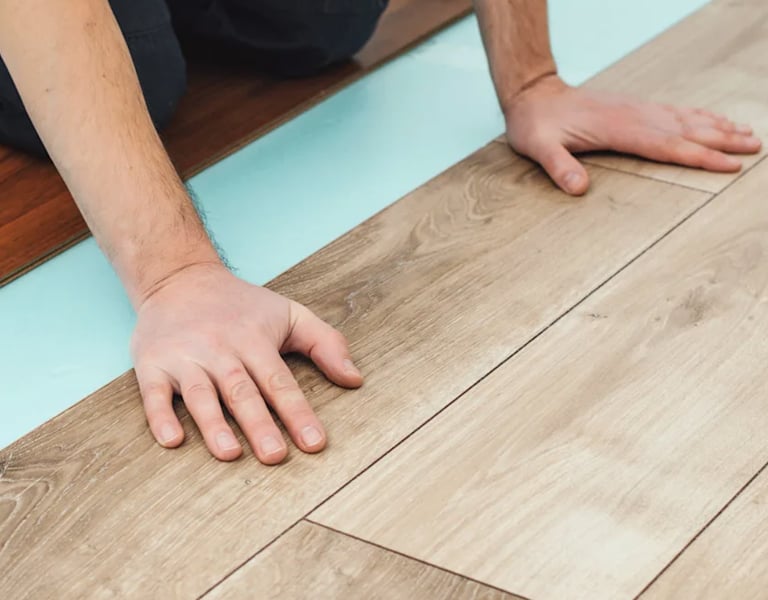
Floating Installation: Easy and Versatile
Floating installation doesn't attach the floor to the subfloor; instead, planks click or lock together over an underlayment (like foam or cork). It's primarily for engineered hardwood or laminate but can work with some solid options using special clips.
Pros of Floating Installation
DIY-Friendly and Quick: No nails or glue needed—perfect for beginners. Installation can cost as low as $2–$5 per square foot.
Removable and Reusable: Easy to disassemble for repairs or relocation, ideal for apartments or temporary setups.
Versatile Subfloor Compatibility: Works over concrete, tile, or existing floors without damage.
Sound Insulation: Underlayment reduces noise transmission, great for multi-story homes.
Cons of Floating Installation
Less Stable: Can shift or gap if not properly acclimated, leading to a "hollow" feel or sound.
Limited Refinishing: Engineered wood has a thinner veneer, so fewer sanding options compared to nailed/glued solid wood.
Not Ideal for Wide Planks: Prone to buckling in humid areas or with boards wider than 5 inches.
Underlayment Required: Adds a step and cost, though it's minimal.
Best For: Basements, over existing flooring, or budget-conscious projects where ease trumps permanence.
Connect
Follow Us
© 2026 Vision Flooring LLC. All rights reserved.